Introduction
Maya is a 3-D animation program that lets you create and sculpt objects then animate them how you want. This tutorial will go through on how to create a simple shape and how to animate it, using a different camera.
Setup
 1. Open Maya
2. a. Click on File
b. Project Window
c. Click New
d. Then type in where it says current project, "SimpleAnimation"
e. Click Accept
3. Go into the polygons tab and double click the cylinder to create a simple cylinder
4. Click on the cylinder then into the Attribute editor
 5. Rotate the X - 90 degrees, so that it is lying on its side
6. Lift up the cylinder, by pressing W, so that it is lying flat on the plane

7. Squash the cylinder, by pressing R, so that it is a wheel shape

8. a. Create another cylinder and make it longer and skinnier than the original one
b. Then center it in the middle of the original cylinder
 9. a. Click on the original cylinder
b. Hold down shift then click the second cylinder to select both of them(make sure that the original is white, while the second is green
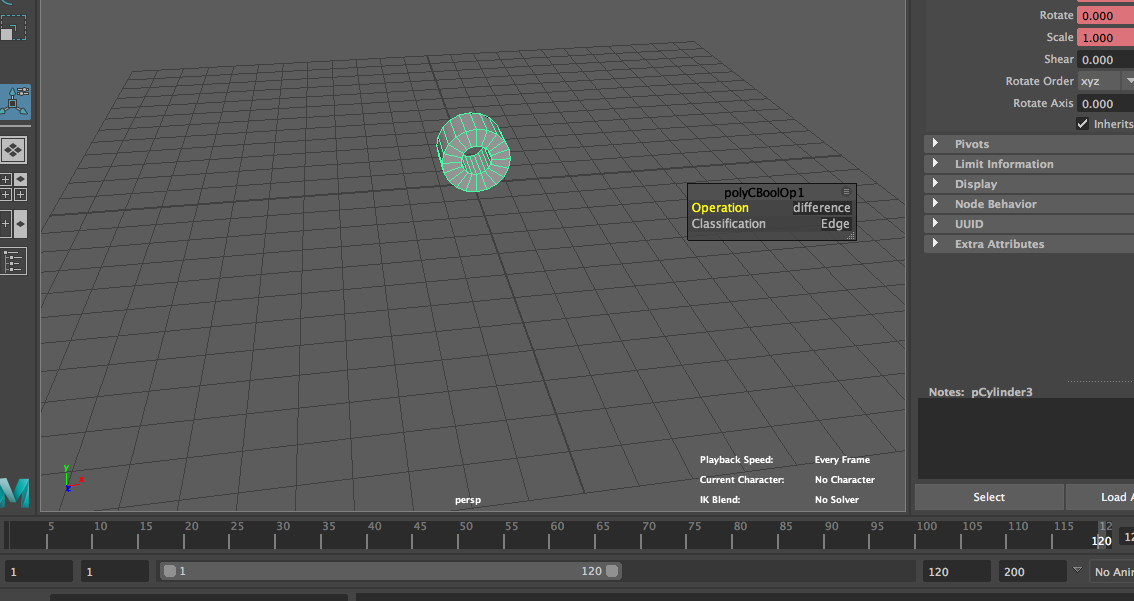
c. Go to Mesh
d. Under boolean, click on Difference
e. This should create a wheel
Animation
 |
| Red bar should be at Frame 1, the slider should be on 120 |
11. Move the slider of on the keyframe bar, to 120

12. a. In the attribute editor, make the X translation move 12
b. Right click on the 12 and click 'set key'
c. This will create the animation of the wheel moving
 Texturing

1. a. Hold down the right click button
b. Go down to assign favorite material
c. Click either Blinn, Lambert, or Phong E
d. In the attribute editor, choose a color or if you want to get technical, find a texture and use a bump map
 Rendering

1. Light the wheel any way you want (I am just going to use a spotlight)
2. a. With the light selected in the attribute editor
b. Click on the shadows drop down menu
c. Click on the check box for "Use Depth Map Shadows"
d. Turn up the resolution

3. Under the rendering tab, click on "Create Camera"
4. a. Go to panels
b. perspective
c. Then select Camera1(This will put you in the eyes of the camera)
5. Align the camera with the animation so that you can see it all
6. a. Go to the rendering settings
b. Make sure the Image Format is set to JPEG
c. Under the Frame/Animation ext:, set it to "name_#.ext
d. Set the end frame to 120
e. Set the "Renderable Camera" to Camera1
f. Change any resolution settings if wanted
7. Change the interface from modeling to rendering
8. a. Under the render tab at the top, click on batch render
b. This will create 120 jpegs in your images folder
c. Wait till all 120 frames are done rendering
d. Then open After Effects
 After Effects

1. a. Create a new composition
b. In the projects window, right click and select import, then File...
c. Find your images folder
d. Select the first image and make sure JPEG sequence is on
e. Then click Import
f. Drag the sequence into the composition window
2. a. Under the composition tab, click on Add to PreRender Queue
b. Change settings as needed
c. Then click on Render
No comments:
Post a Comment