Blog Archive

Monday, May 22, 2017

Simple rolling animation

Introduction

Maya is a 3-D animation program that lets you create and sculpt objects then animate them how you want. This tutorial will go through on how to create a simple shape and how to animate it, using a different camera. 

Setup

1. Open Maya

2.  a. Click on File
     b. Project Window
     c. Click New
     d. Then type in where it says current project, "SimpleAnimation"
     e. Click Accept

3. Go into the polygons tab and double click the cylinder to create a simple cylinder


4. Click on the cylinder then into the Attribute editor


5. Rotate the X - 90 degrees, so that it is lying on its side

6. Lift up the cylinder, by pressing W, so that it is lying flat on the plane

7.  Squash the cylinder, by pressing R, so that it is a wheel shape


8. a. Create another cylinder and make it longer and skinnier than the original one
    b. Then center it in the middle of the original cylinder


9. a. Click on the original cylinder
    b. Hold down shift then click the second cylinder to select both of them(make sure that the original is white, while the second is green
    c. Go to Mesh
    d. Under boolean, click on Difference
    e. This should create a wheel


Animation
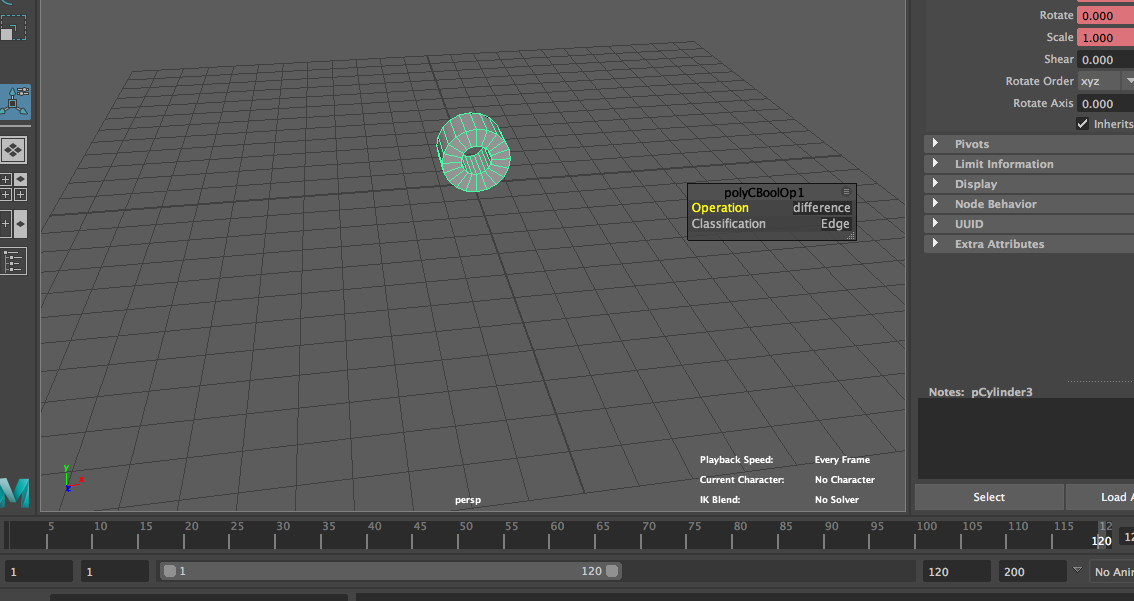


Red bar should be at Frame 1, the slider should be on 120
10. With the wheel selected, press S (This will create a keyframe, which sets the position of the wheel)

11. Move the slider of on the keyframe bar, to 120


12. a. In the attribute editor, make the X translation move 12
      b. Right click on the 12 and click 'set key'
      c. This will create the animation of the wheel moving


Texturing

1.  a. Hold down the right click button 
b. Go down to assign favorite material
c. Click either Blinn, Lambert, or Phong E
d. In the attribute editor, choose a color or if you want to get technical, find a texture and use a bump map 


Rendering 

1. Light the wheel any way you want (I am just going to use a spotlight)

2. a. With the light selected in the attribute editor
b. Click on the shadows drop down menu
c. Click on the check box for "Use Depth Map Shadows"
d. Turn up the resolution
3. Under the rendering tab, click on "Create Camera"

4. a. Go to panels
b. perspective 
c. Then select Camera1(This will put you in the eyes of the camera)

5. Align the camera with the animation so that you can see it all

6. a. Go to the rendering settings
b. Make sure the Image Format is set to JPEG
c. Under the Frame/Animation ext:, set it to "name_#.ext
d. Set the end frame to 120
e. Set the "Renderable Camera" to Camera1
f. Change any resolution settings if wanted

7. Change the interface from modeling to rendering

8. a. Under the render tab at the top, click on batch render
b. This will create 120 jpegs in your images folder
c. Wait till all 120 frames are done rendering
d. Then open After Effects

After Effects

1. a. Create a new composition
b. In the projects window, right click and select import, then File...
c. Find your images folder 
d. Select the first image and make sure JPEG sequence is on
e. Then click Import
f. Drag the sequence into the composition window

2. a. Under the composition tab, click on Add to PreRender Queue 
b. Change settings as needed
c. Then click on Render

Final Animation:


Friday, May 19, 2017

Chrome Extension #3

Grammarly

Description

This extension analyzes the text that you type and helps you fix every error, from spelling errors to punctuation errors. It will give you options on ways to fix the errors that you make when typing a essay, blog, or any other thing you need to type.

Steps to Use

1. Download the extension
2. Start typing in a document
3. If you mistype a word, it will be underlined with red
4. Scroll over the underlined word and options will pop up on what it thinks you are trying to type
5. Click on the fixed error

I would recommend this extension to a student or writer that wishes for the errors t be fixed automatically. 

Thursday, May 18, 2017

Chrome Extensions #2

vidIQ Vision for Youtube

Description

This extension analyzes a Youtube video and tells the amount of views, how much money it has made, how popular it is, and the monthly revenue. The purpose is to tell people about the Youtube videos they are watching. There is not really a specific attended audience but it just for information and people that are curious. 

Steps to Use

1. Download the extension from the Chrome store
2. Go to Youtube and find a video
3. Click on the extension at the top 
4. The menu will pop up on the side that will explain all the statistics for the video

I would recommend this extension because it is interesting to know how much money they get and all the statistics that go along with videos.

Chrome Extensions #1


Font Finder

Description 

This extension analyzes the website checks the CSS, which is the background color, font color, and the font of the words. It shows how the text is aligned which in this photo, I checked the CSS of my blog. It can analyze any website from Facebook to Youtube.
The purpose is for web designers to see what colors and font websites use. The intended audience are web designers that like the color or font of a website, and wish to find out what it is.

Steps to Use

1. Download Font Finder 
2. Go to a website that you want to find out the CSS for
3. Click on this icon (The picture to the right)
4. The menu will pop up that will explain what the font and color is

I would recommend this extension to other people that wish to find out what the CSS for a site is. 

Friday, April 28, 2017

Olathe Northwest Lizards


Northwest Lizards

I chose lizards for no particular reason, I just wanted something about the same length as ravens and fit together with northwest. I also chose lizards because I knew that the logo would not be too hard to make, I wanted to have a simple logo for the school.

Logo

I chose the same color scheme and based it off another logo to create this lizard. I also kept the logo look the same as the current logo of Olathe Northwest. On the text, I tried to keep the same text the same too, so that it was consistent in the look. I chose these colors because green usually goes with lizards, and orange goes with green good.


Monday, April 17, 2017

Personal Blog Post

SFX Animation


Process

This SFX animation was made in After Effects and the explosion was made from several components  like the explosion, the dust, and the smoke. It had to be timed with the explosion and make it seem like a realistic explosion. I had to import all the components of the explosion and add them in one at a time and make sure the timing was with the explosion. Then I had to deal with the lighting that it would have left if it was really in that street, then I had to time the explosion so that it was the brightest when the explosion first comes out. I learned how to deal with masks and how to feathers objects out so that they don't have a sharp edge. If I had more time and experience, I could add a camera shake or more windows breaking, making the explosion seem like it really happened. I would keep the timing the same, it is well timed with the explosion and the sound. After this project, I applied what I learned to do the same thing but in a different scenario.

Tuesday, April 11, 2017

Past Present Future Website


Summary of Project

This project has information on places I went to and schools I went to in my past. Then it has things on what I want to do when I grow up. It has rollover images at the top to show the dates on what time zone it is in. Then to go back to the home page, you click the name at the top. It has stuff from things about me going to Disney World, and elementary school to what college I plan to go to for the major I want; video game design.